Case Manager Exporting
Exporting query results to CSV or XLS(X) makes it possible to use INDICA to create lists that can be used for several actions. It allows case managers to export counts, tags, tokens, etc. These can be used to create statistics and dashboarding. This also opens up the possibility to export file lists and to take (automated) actions based on the export.
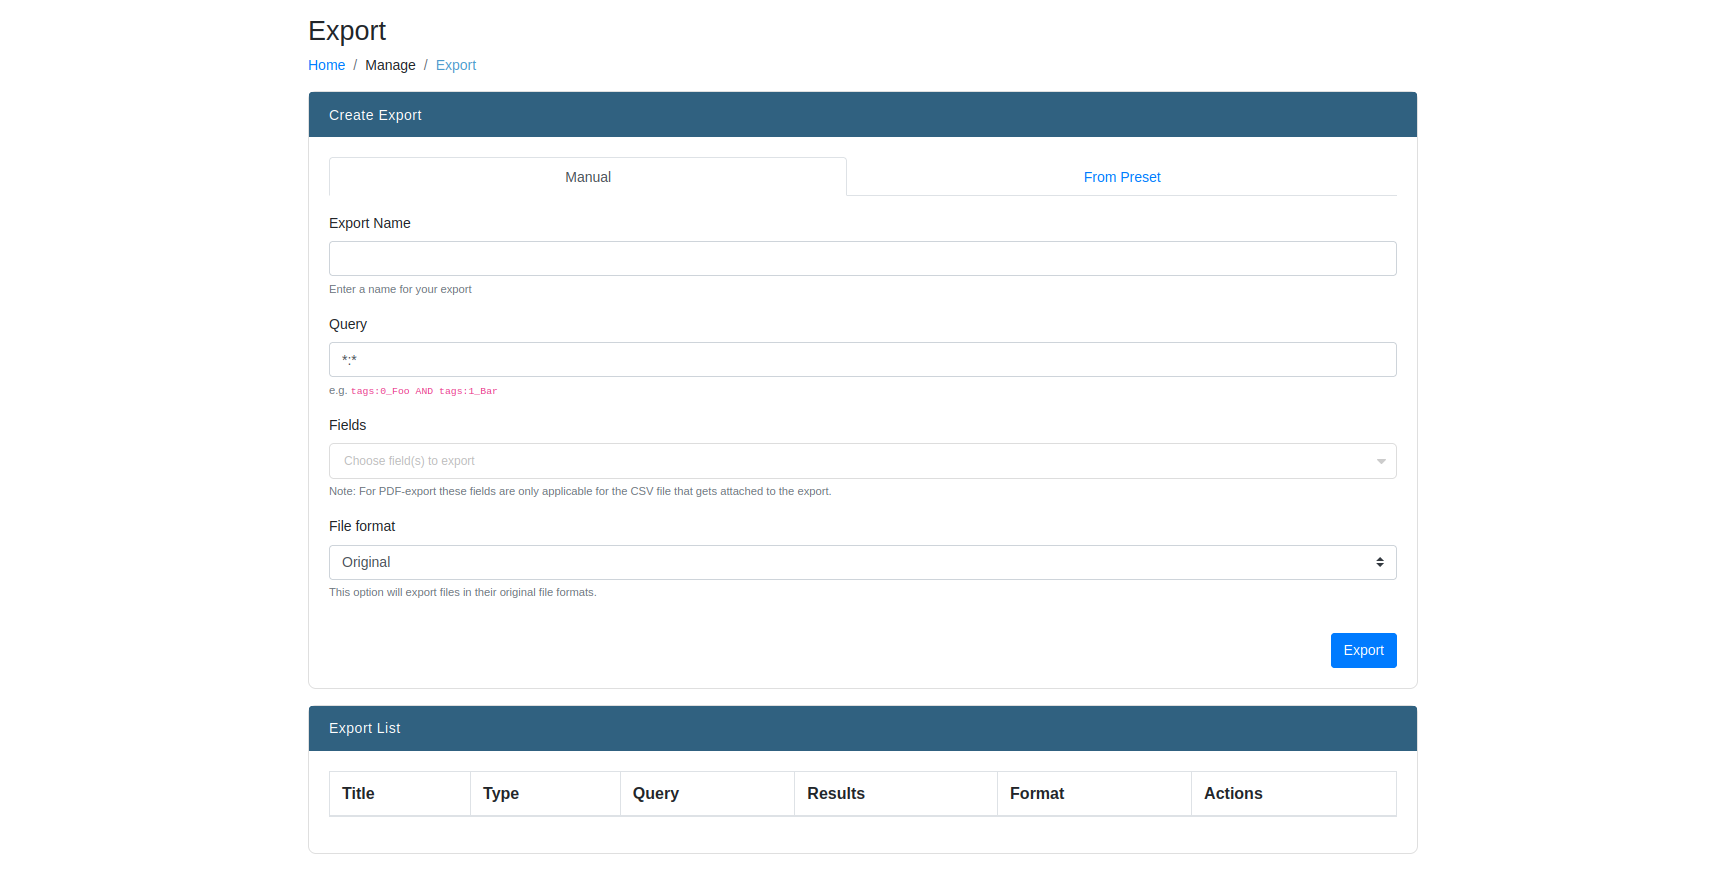
There are two ways of creating an export: either manually by entering all of the export parameters, or by creating and using an export preset.
Creating an Export
Creating an export is done by filling in the following fields:
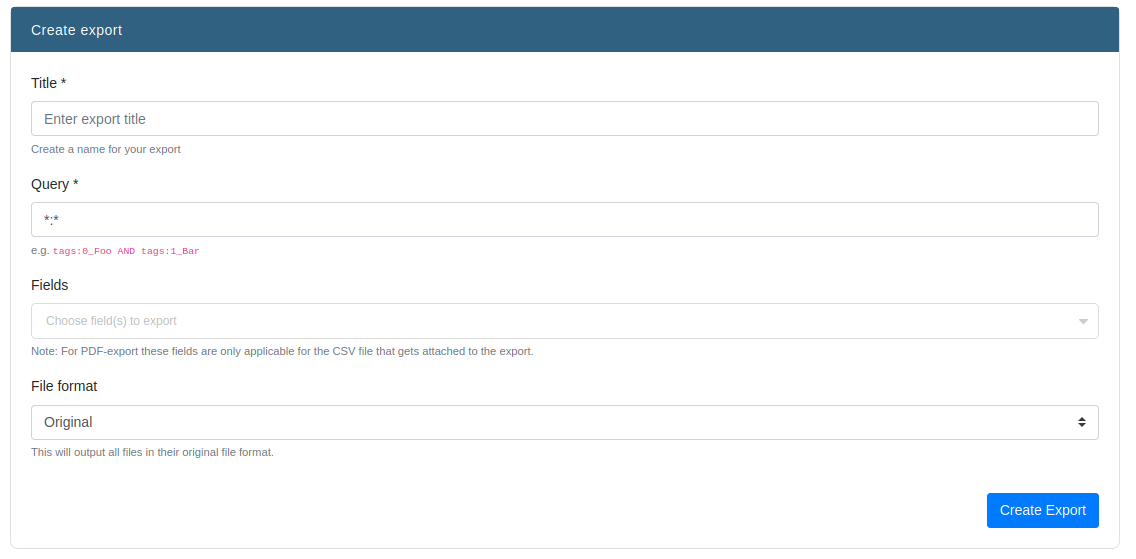
- Title
- Title of the export. This will be used as the filename.
- Query
- Query that will be used to create the export.Any query that works on the Search page will work here as well.It is advised to create the query on the Search page and copy-paste it here.
- Fields
- List of all fields that need to be exported.The order of the filled in fields will be reflected in the export.
- File format
- Choose in what format the export will be made.A choice can be made between Original, (Converted) PDF, Redacted and Drafts. With original exports, files will be exported in their original file format.With PDF exports, a conversion of the file to PDF will be made if possible.
When the file format is selected, more options may appear. These options will only appear if the selected format is anything but “Original”. The options are as such:
Create merged PDF instead of ZIP
Print unique document ID on pages
Remove metadata - removes PDF metadata
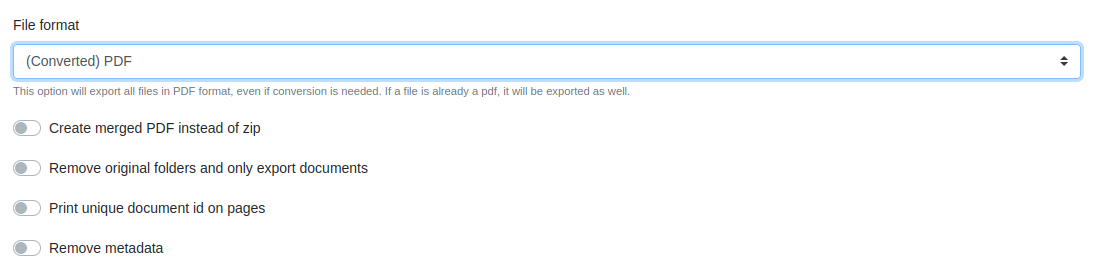
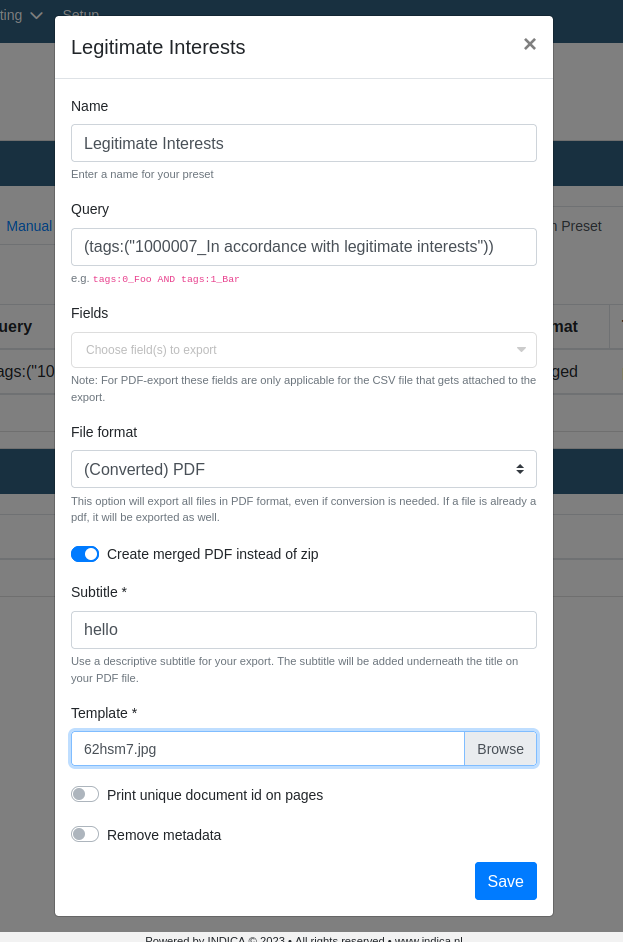
One of these options is the choice between a merged PDF and a ZIP. A merged PDF means all the documents that are exported will be merged together into one single PDF. This will result in a single PDF file, and not a Portfolio PDF. This PDF needs extra information, and the following fields will show:
- Subtitle
- A subtitle to accompany the export name on the title page of the merged PDF export.
- Template
- An image to use for the title page of the export.
When all fields have been filled in, simply click the “Export” button to start the export. A notification will be displayed that the export is running.
When the export is done, another notification will be displayed. Upon refreshing the page, the export will be shown in “Download Exports”
Export Presets

Users can create export presets to use for multiple future exports. For example, instead of spending time filling out all the export parameters manually every single time, a user can create a preset to reuse over and over again for future exports.
To create a preset, navigate to the “From Preset”. Here you can see an overview of presets that have already been created. To create a new preset, press the “Create Preset” button.
The preset form is the same as if the export was created by hand, but all the data input is saved. When creating an export preset, the field “name” is used for the name of the preset itself, and not for the name of the export. To use the preset for the export, press the checkbox button in the “Actions” column of the preset you want to use. Enter a name for the export you want to create and press “Export”. The finished export will then be shown in the export list.
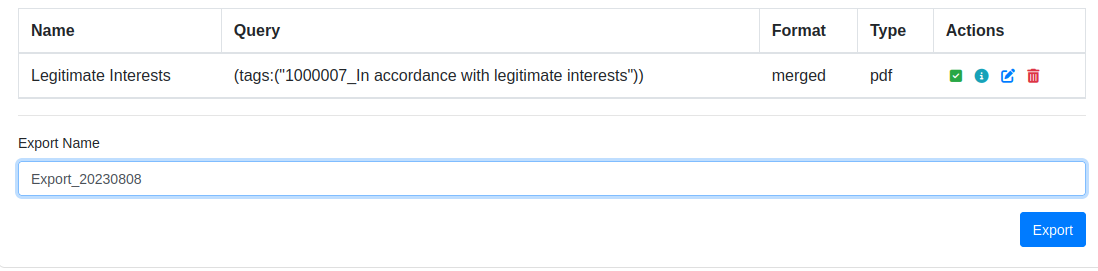
Through the preset list, the user can also remove the preset with the trashcan button, edit with the pencil button and just view the preset with the info button.
Downloading an export
When an export is made and finished, it will be displayed under “Export List” on the same page. All previous exports will be kept here, available for download.
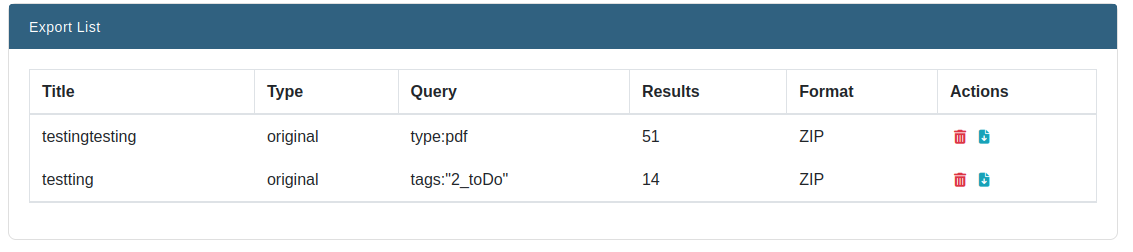
To download the export, press the blue download button under “Actions”. When an export is no longer needed, click the red trashcan icon to remove it.
This panel also shows you the name of the export, the query that was used to create the export, the number of records that are exported, and the format and file type in which it was exported.