Cases
Overview of the Case administration page. Here it’s possible to create, edit, archive and restore cases.
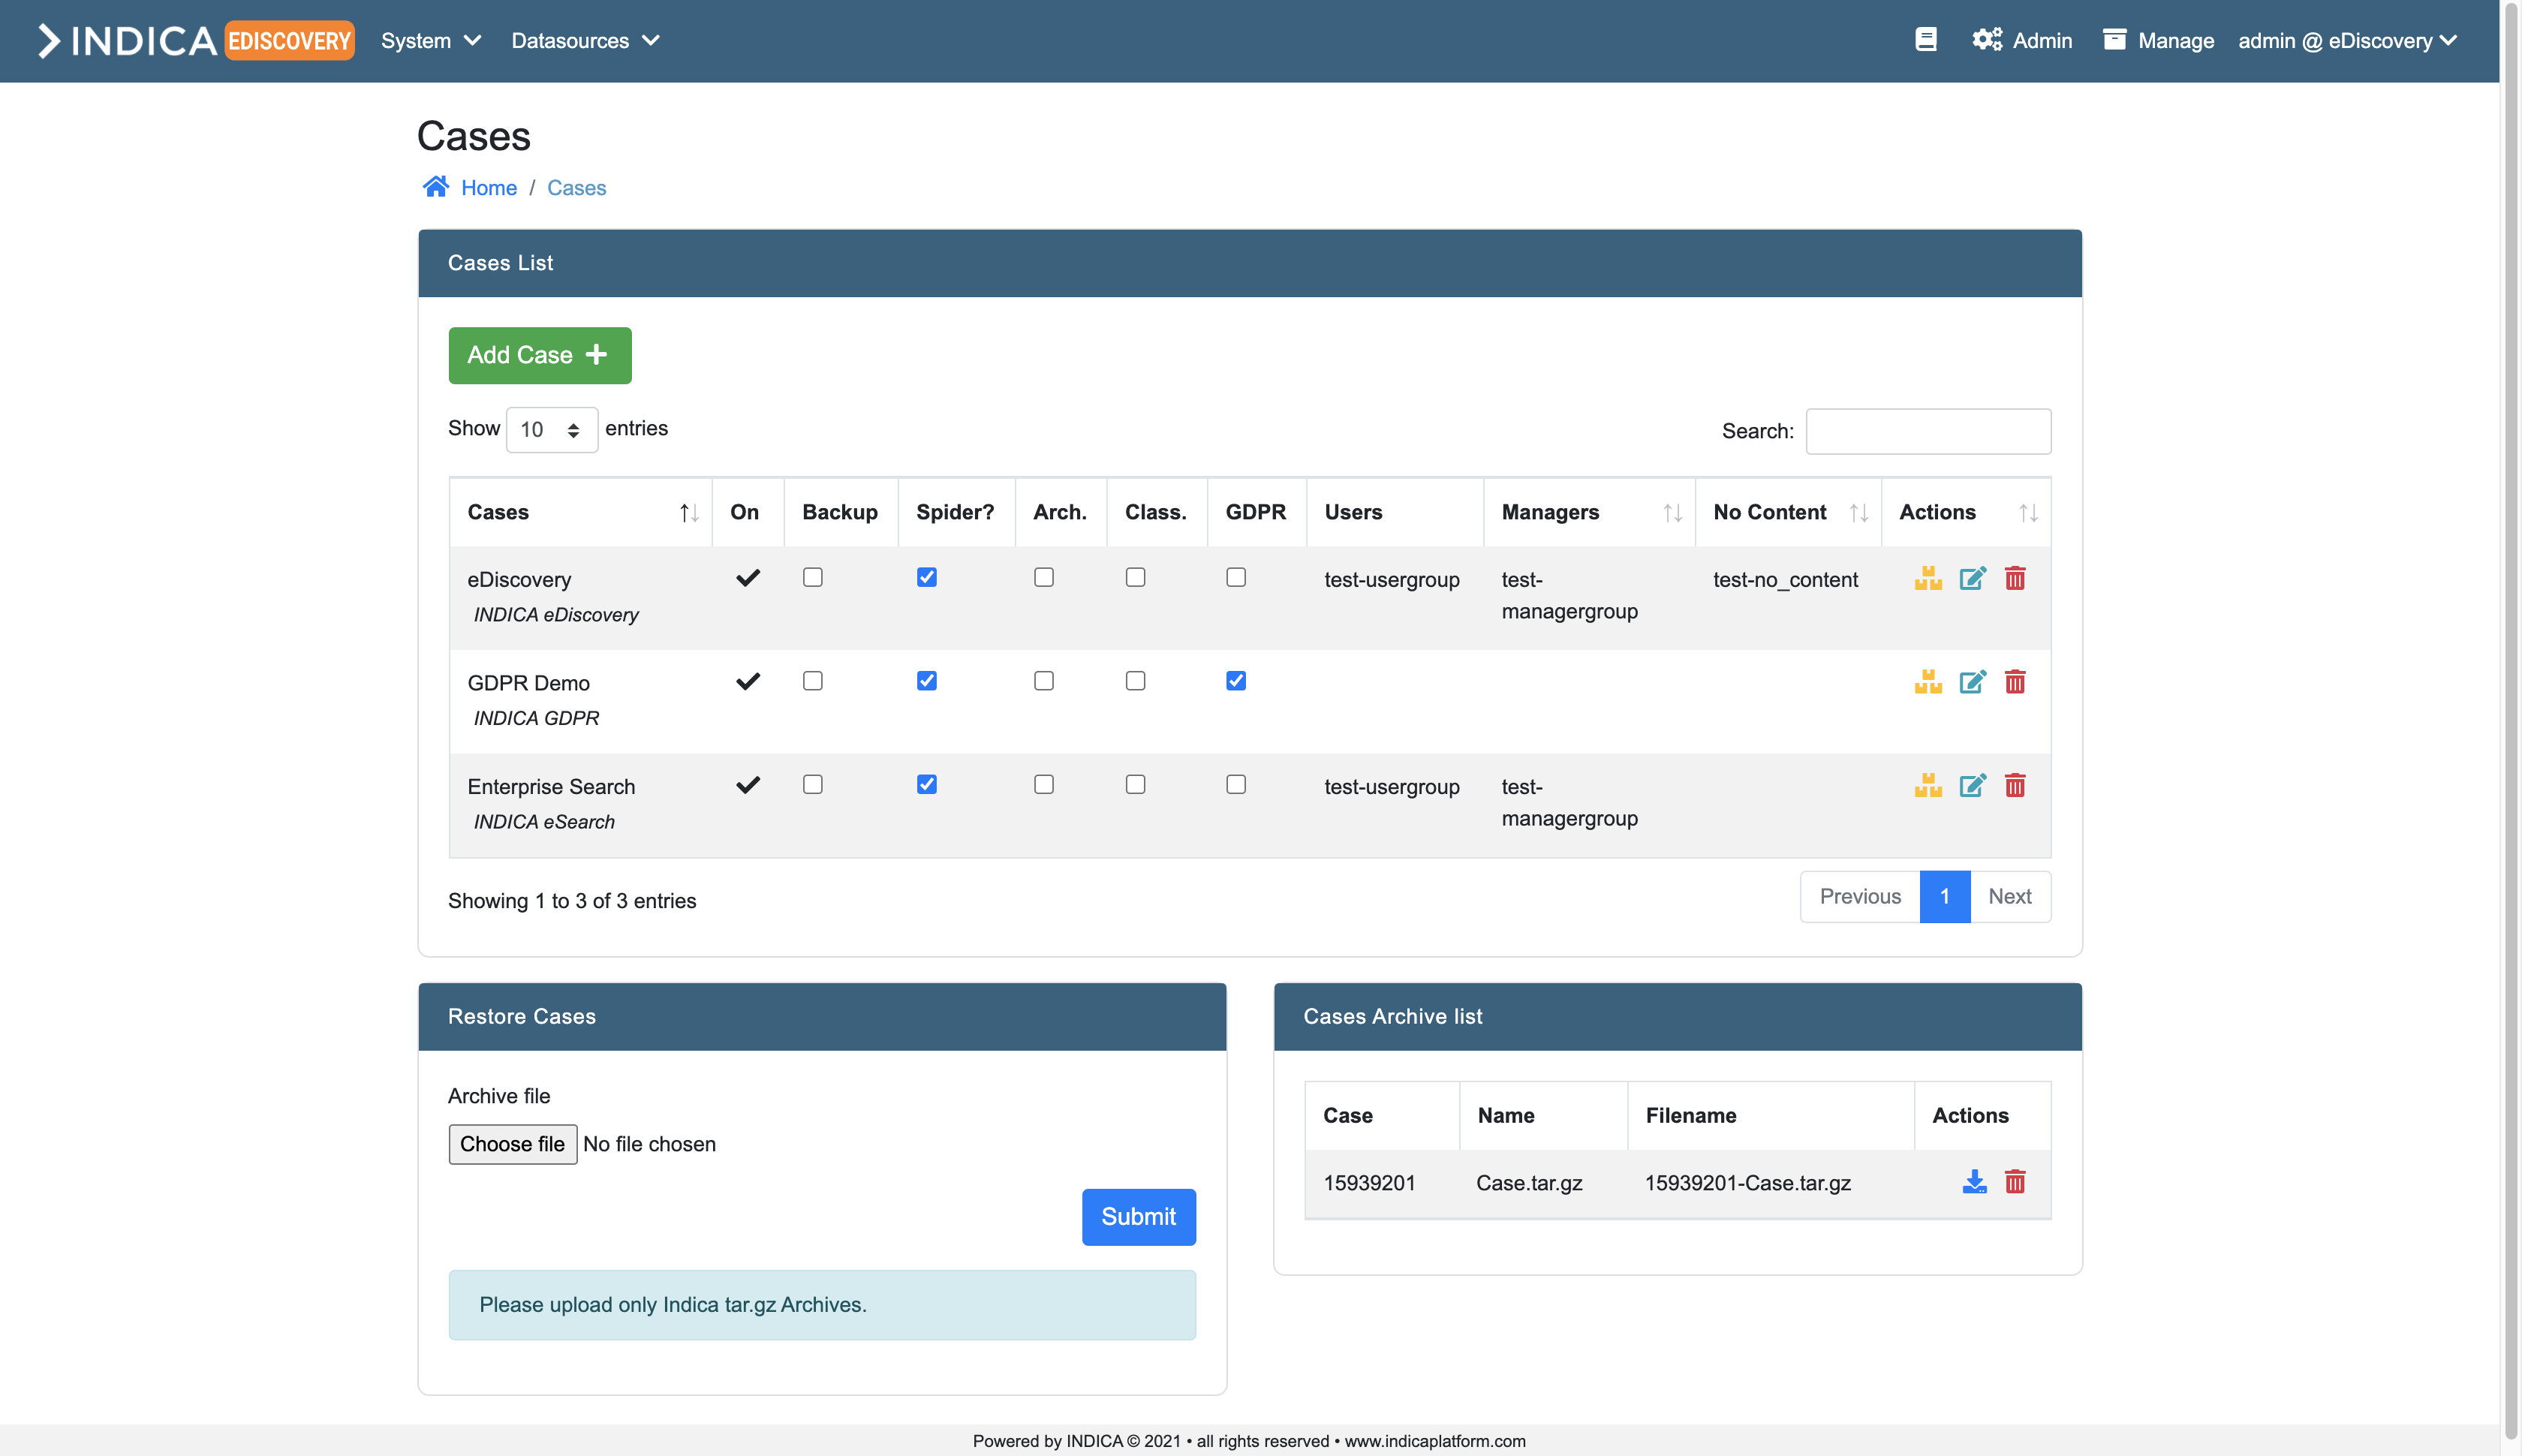
Cases List
The listview offers some settings and features. The checkboxes can be used to toggle functionality or settings on a case. The columns in the table are:
- On
Whether the case is enabled or not. This setting can be toggled on the “Edit Case” page.
- Backup
Whether the case will be backed up when backup settings are configured.
- Spider?
Enable or disable the spider for this case.
Caution
Do not disable the spider during indexing.
- Arch.
Whether the case is archived or not.
- Class.
Enable or disable the Classification Module.
- Privacy
Enable or disable the Privacy module.
- Users
Name of the Active Directory group to grant “User”-level access to this case.
- Managers
Name of the Active Directory group to grant “Manager”-level access to this case.
- Actions
Yellow boxes button: Click this button to archive the case.
Blue paper button: Edit this case.
- Red trashbin button: Delete this case.
Note
All but one case can be deleted. The system needs at least one running case.
Adding a case
From this page, it’s possible to create a new case on the appliance. Simply click the “Add Case” button. You can either create a case “manually”, meaning filling in the form yourself, or creating a case from a template. When creating a case manually, you will see the following form:
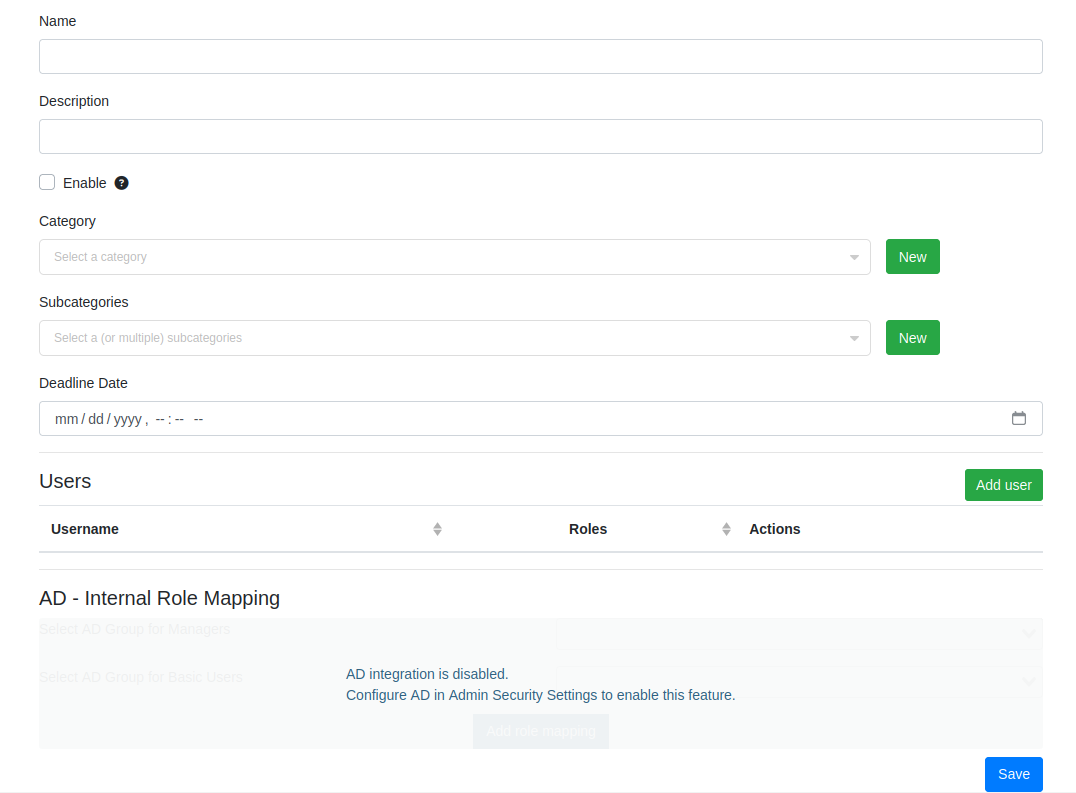
Here you can fill in the following details:
- Name
Name of the case.
- Description
Description of the case.
- Category (optional)
A category for the case. You can only assign one.
- Subcategory (optional)
Subcategories for the case. You can assign multiple.
- Deadline (optional)
A deadline for when the case needs to be completed/closed/etc.
- Enabled
Whether the case is enabled or not. If unchecked, the case will not show up for users and managers.
- AD Group for managers (Only available when AD integration is active and configured)
The Active Directory group that is used to grant users access to this case with “Manager”-level.
- AD Group for users (Only available when AD integration is active and configured)
The Active Directory group that is used to grant users access to this case with “User”-level.
- Extra role mappings (Only available when AD integration is active and configured)
This option allows you to map extra roles to AD groups. See Mapping AD groups to roles.
Tip
If AD integration is not enabled, it is still possible to set up Roles and Permissions for users.
When all details are filled in, click the “Save” button. A new case will be created. This may take several seconds, depending on the size of the system and the amount of indexed data.
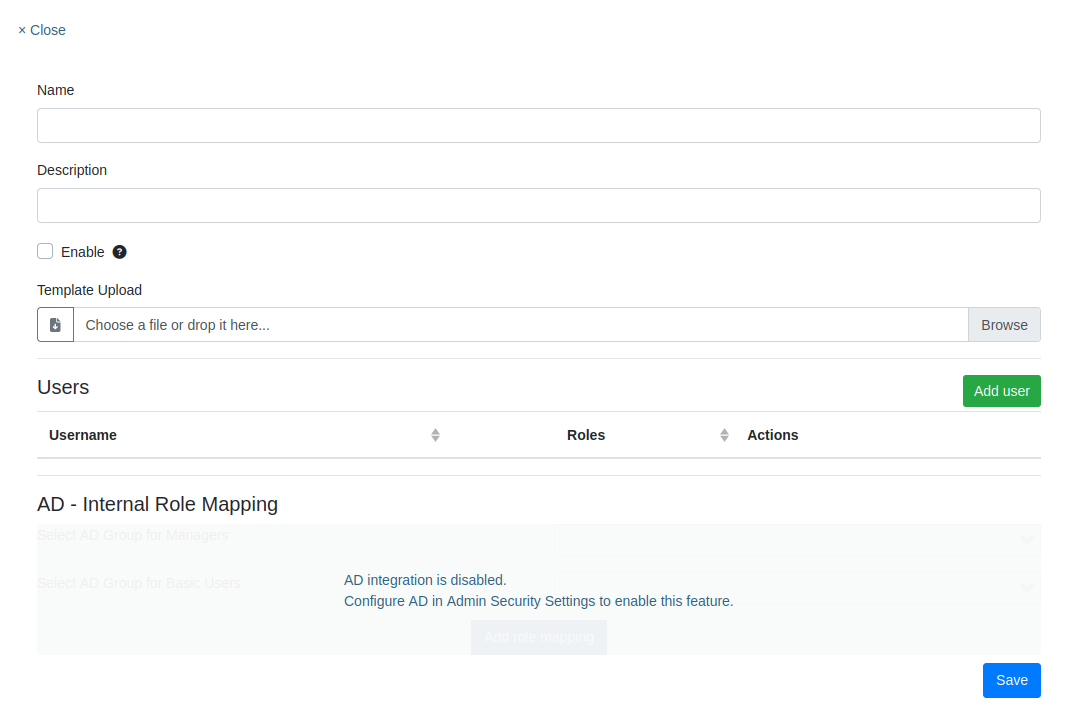
When creating a case through a template, the form looks almost the same except most of the fields are replaced with a file upload. You still need to provide a name and a description for the case, as well as any additional AD configuration. The rest can be configured into a template. You can either use a template formerly created with Import/Export Setup, or you can download an example from the file upload field and fill it in yourself.
Mapping AD groups to roles
If more roles need to be connected to AD groups, it is possible to map them. To do this, navigate to the Case settings page and edit the case in question.
It can also be setup during the creation of a new case.
You will see the following:
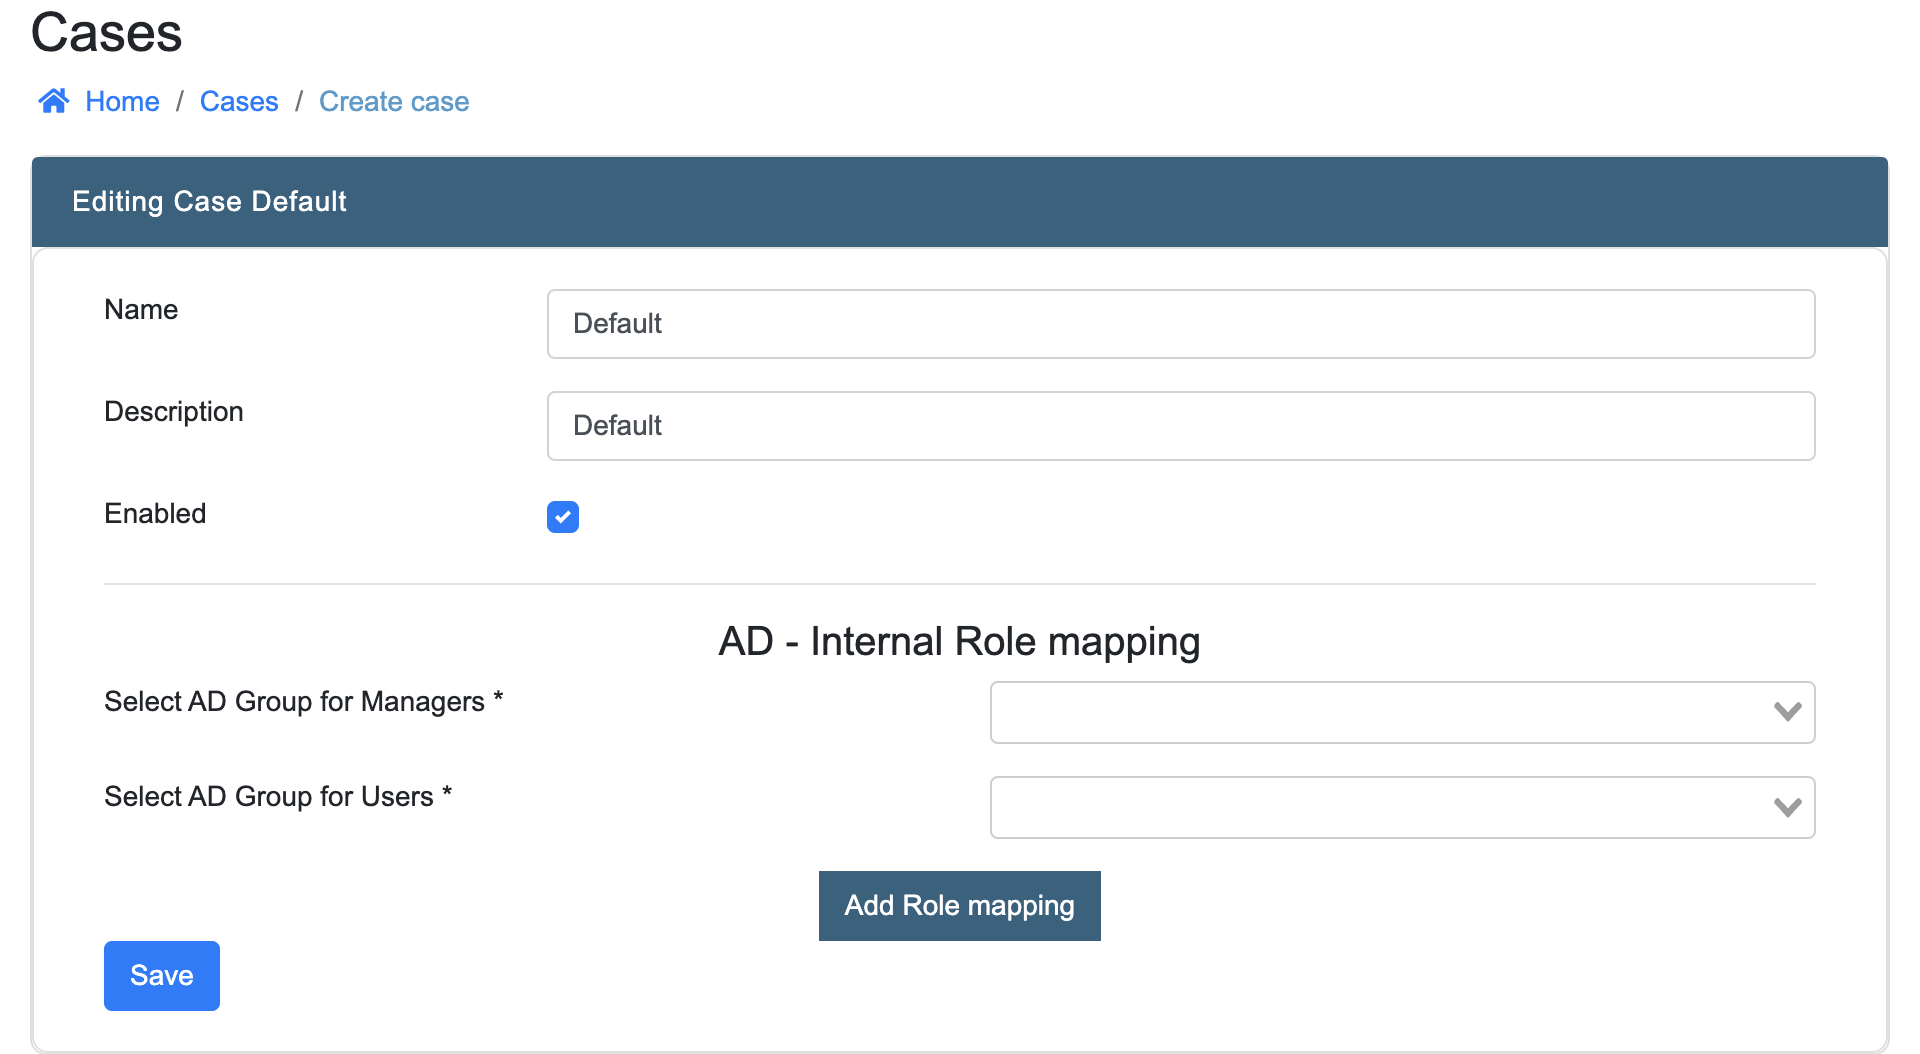
Two possible mappings may be presented already:
- Select AD Group for Managers
Use this option to select an AD group that will give its users the Manager role in INDICA
- Select AD Group for Users
Use this option to select an AD group that will give its users the User role in INDICA
In addition, the button “Add Role mapping” may be pressed to present a blank line:
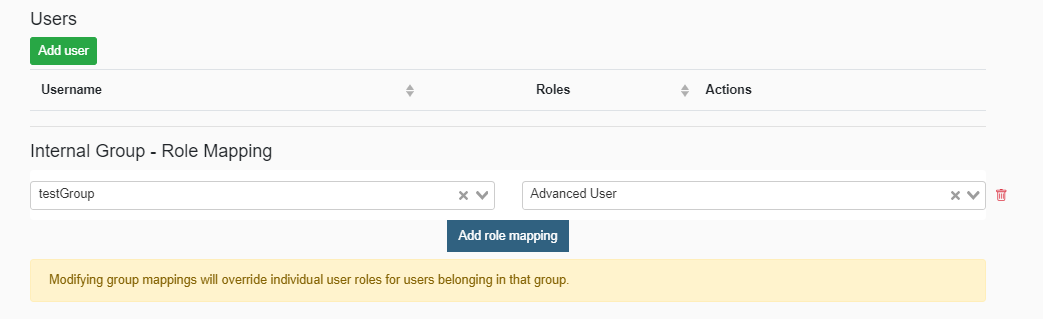
In this line, select the desired role on the left side and the corresponding AD group on the right side. This step can be repeated for every role that needs an AD mapping.
Mappings can also be removed by clicking the red trashbin icon on the right side of the row.
In some situations, a message stating “Modifying AD mappings will logout all users belonging to the group” may be displayed. This means that users will get a forced logout in order for the new settings to take effect.
When done, click “Save” to store the settings.
Editing a case
To edit a case, navigate to the “Cases List” and click the blue paper icon in the “Actions” Column. The following page will open:
From here, it’s possible to edit the case. See “Adding a case” for details about the fields. Click “Save Changes” when the desired changes have been made.
This page also shows the users that have access to this case and the created collections in this case.
Archiving a case
To archive a case, navigate to the “Cases List” and click the yellow boxes icon in the “Actions” column. INDICA will now automatically archive this case. The case will be disabled and cannot be accessed anymore.
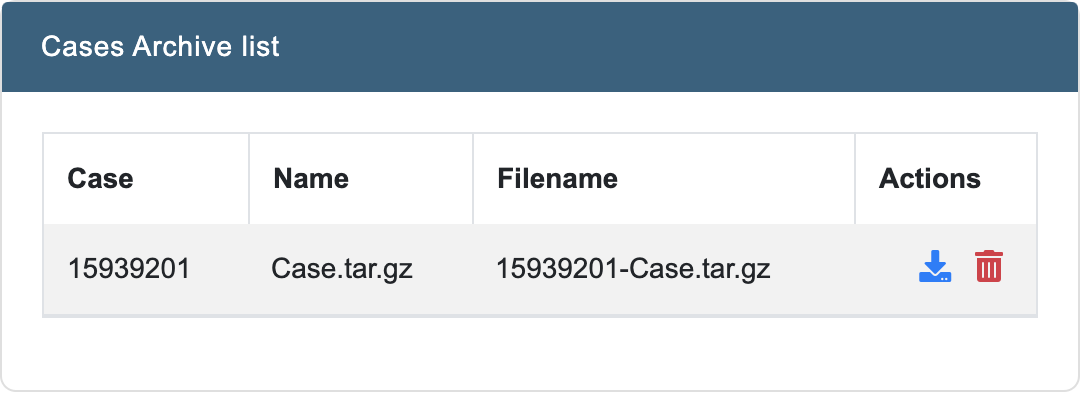
When the archiving is done, the case will be displayed in the “Cases Archive list”.
Note
This list displayes the archived cases by their Case ID as this is unique for every case.
From this list, the archived case can be downloaded in a .tar.gz format. The downloaded file will contain everything that is needed to later restore the case.
If the archived case is no longer needed, it can be deleted by clicking the red trashbin icon.
Caution
This action is irreversible and the data is lost permanently.
Restoring an archived case
INDICA offers the possibility to restore a previously archived case. To do this, navigate to the “Cases List” page. Here a section is shown where you can upload INDICA .tar.gz files.
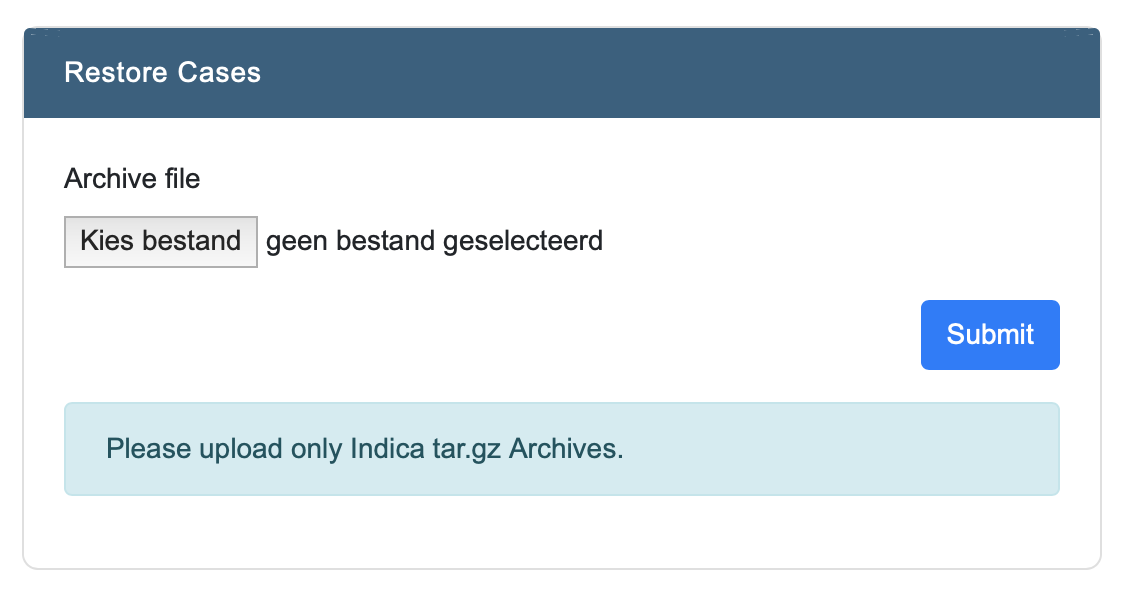
Click the “Choose File” button to select the .tar.gz archive. After choosing the correct file, the upload will start. When the upload is done, click the “Submit” button to restore the case from the archive. The case will now be restored and displayed in the “Cases List”.
Deleting a case
Deleting a case is done from the “Cases List” page. In the “Actions” column, a red trashbin icon is displayed. When that icon is clicked, a confirmation box will pop up. This is to prohibit accidental deletion.
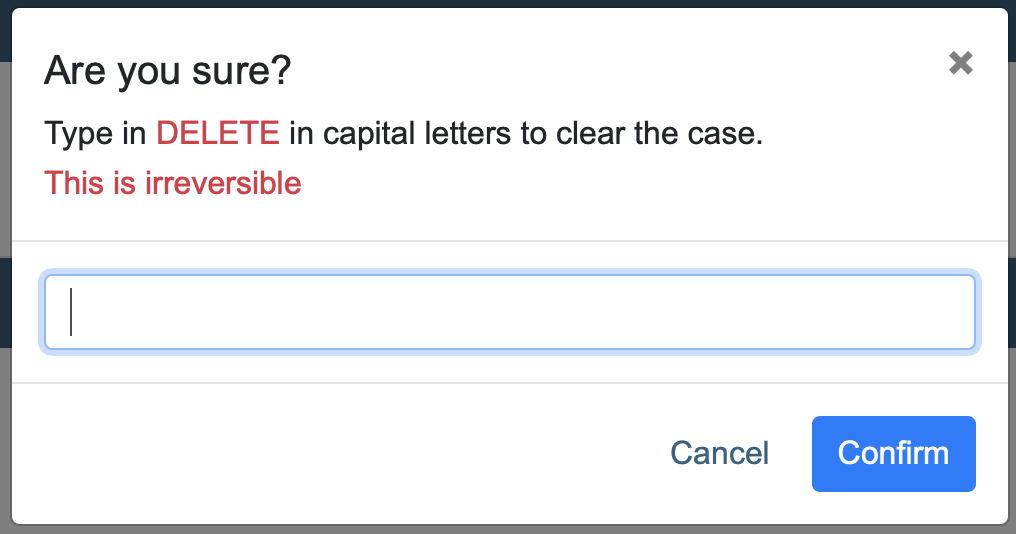
Caution
Deletion of a case is permanent and irreversible. This action cannot be undone.
There must always be one case in the system. The last case cannot be deleted.